Automatic Software Update in AD
If Transparent Lock Screen has been previously deployed in your Windows Active Directory (AD) domain using this manual, you can follow the steps below on the domain controller to also update the application to newer versions network-wide.
The screenshots are taken from Windows Server 2025, but the steps are similar for other versions of Windows Server.
-
Download the latest installation file TransparentLockScreen.msi, and then put it into a network location all domain users have read access to.
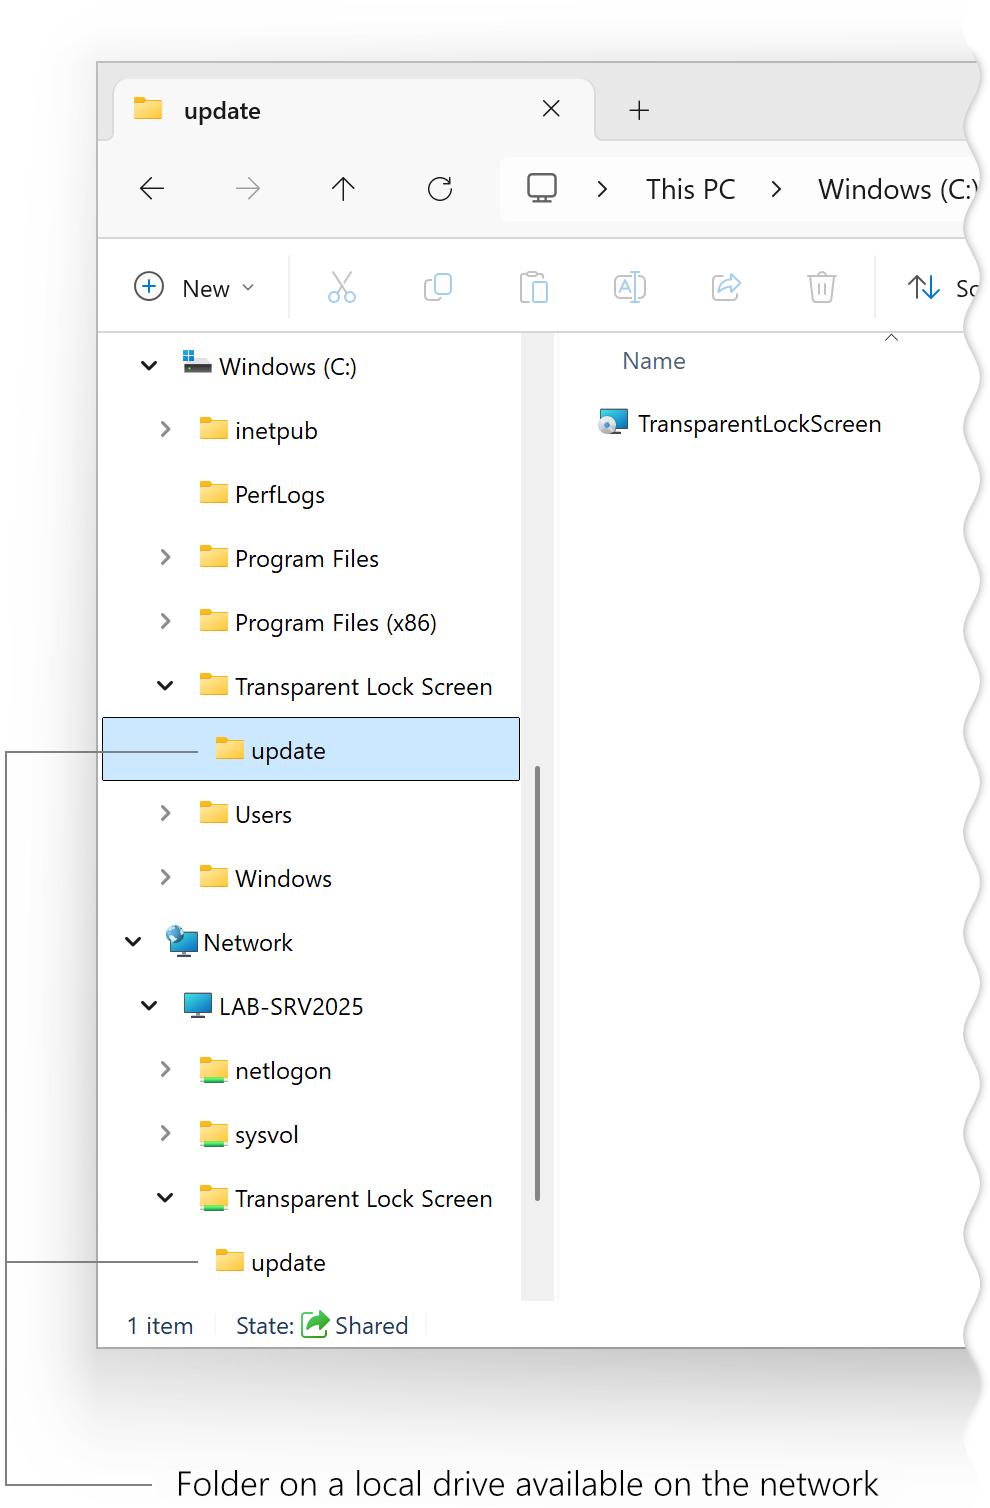
Locating the installation file
-
Click the Start button and then type Group Policy Management in the search field.
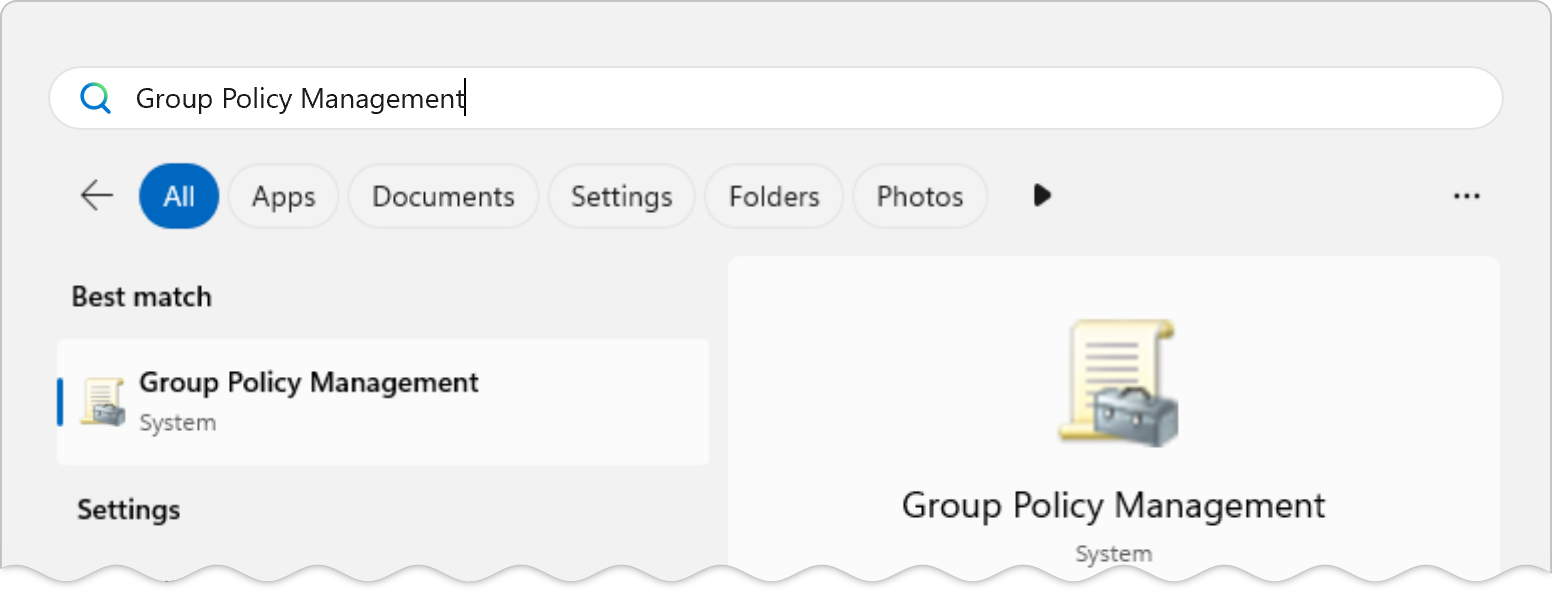
Opening Group Policy Management
-
In the left-hand pane of the Group Policy Management window, navigate to the Group Policy Object (GPO) currently used to deploy Transparent Lock Screen in your domain, right-click it, and then click Edit.
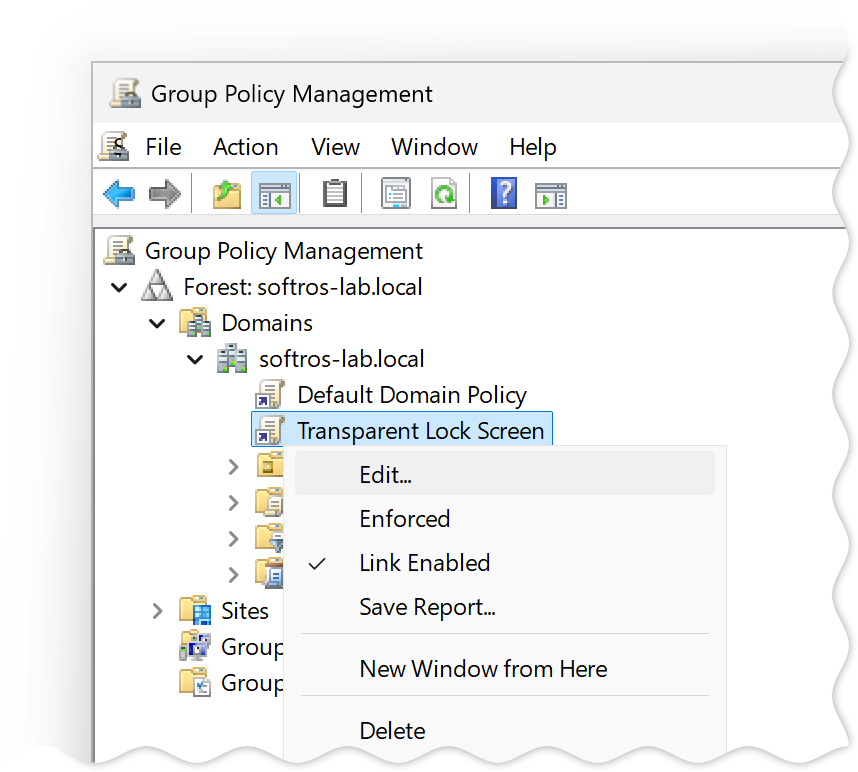
Context menu of a GPO
-
In the left-hand pane of the Group Policy Management Editor window, navigate to Software installation. When you click it, you will see your current deployment package in the right-hand pane. Right-click Software installation, hover your mouse over New, and then click Package.
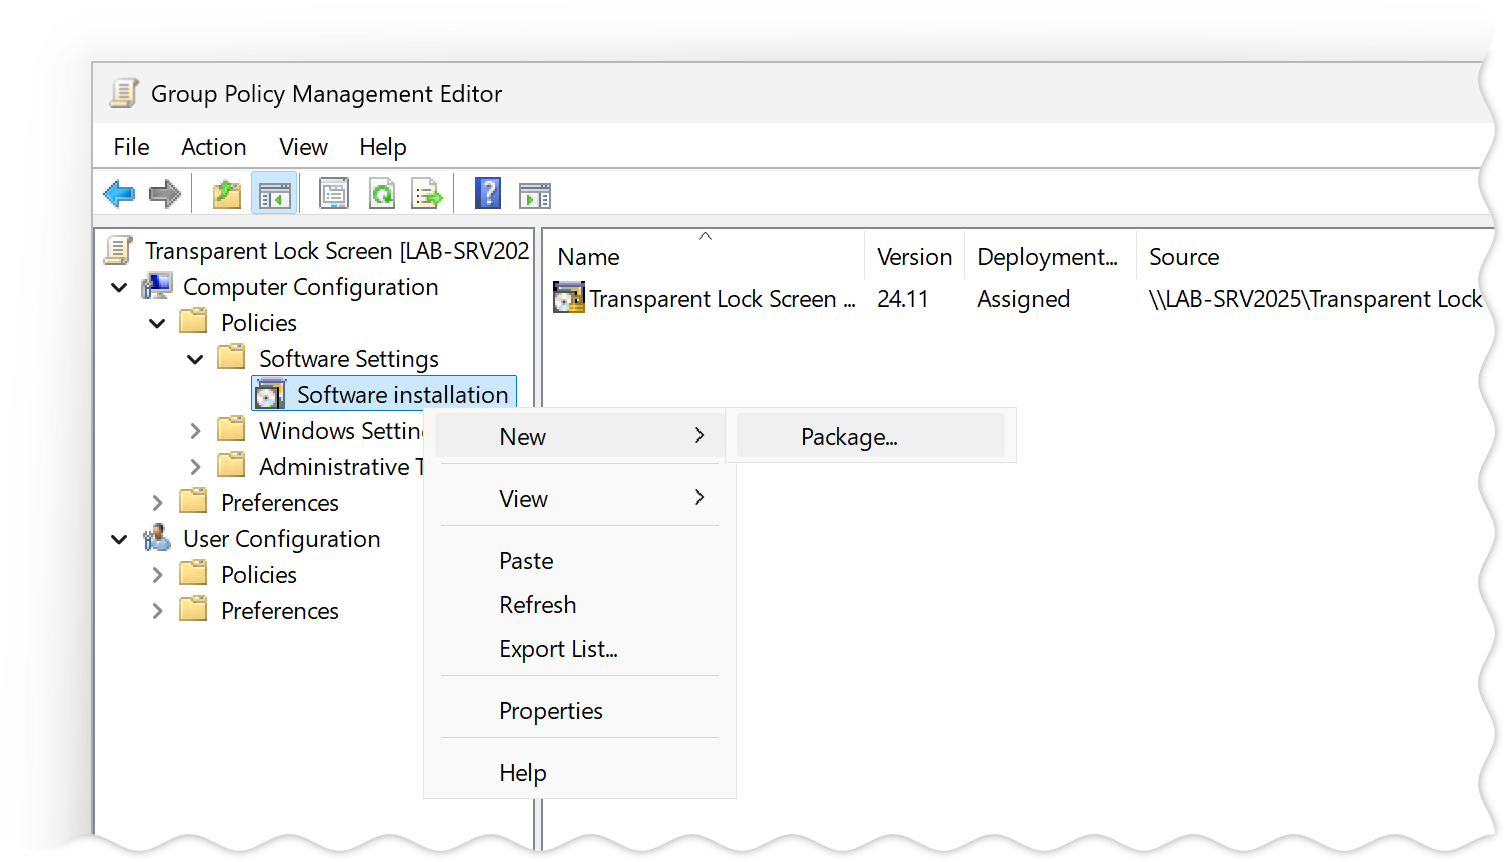
Context menu of the Software installation component
-
In the dialog box that opens next, select the TransparentLockScreen.msi file from the location specified in step 1, and then click Open. The path to the file should look exactly as the users see it, for example:
\\server\Transparent Lock Screen\TransparentLockScreen.msi -
In the Deploy Software dialog box, click Advanced, and then click OK.
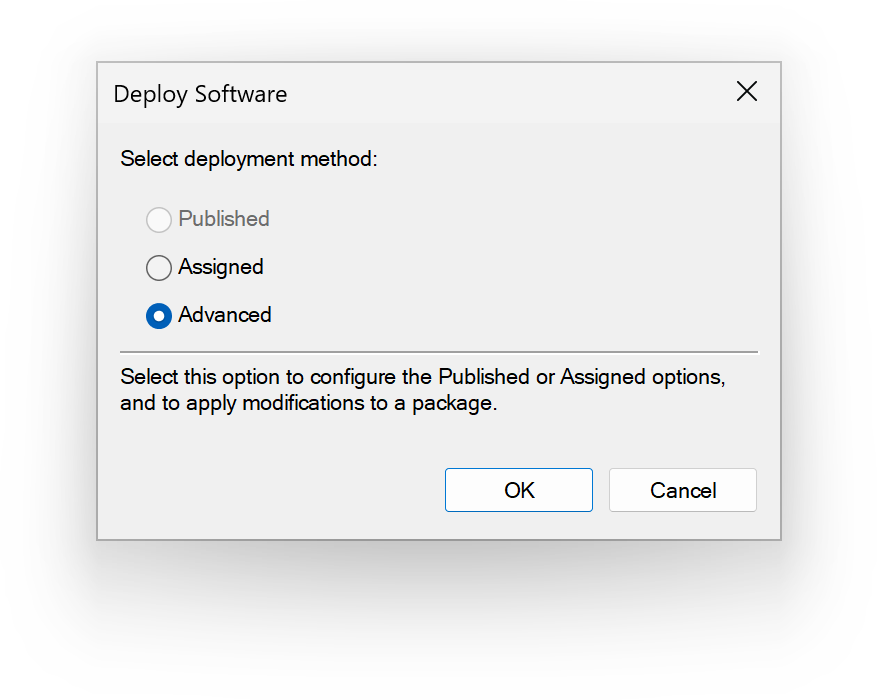
Deploy Software dialog box
-
In the package’s Properties dialog box, click the Upgrades tab, and make sure you see the
Upgrade Transparent Lock Screenline, which should be there by default.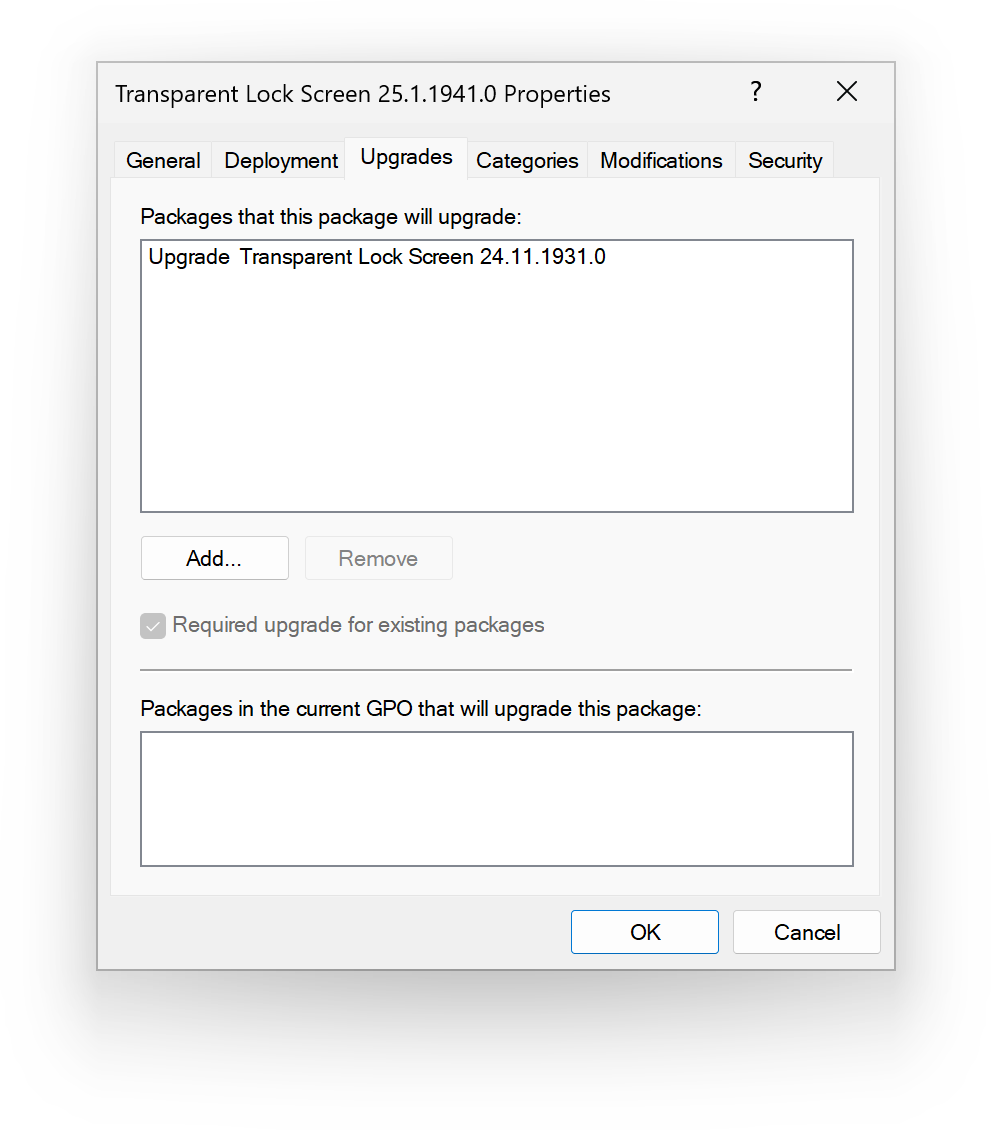
Upgrades tab of the package’s Properties dialog box
-
If this is not the first time you are updating Transparent Lock Screen:
- make sure you have added all previous packages to the list;
- make sure to click Package can upgrade over the existing package while adding each package.
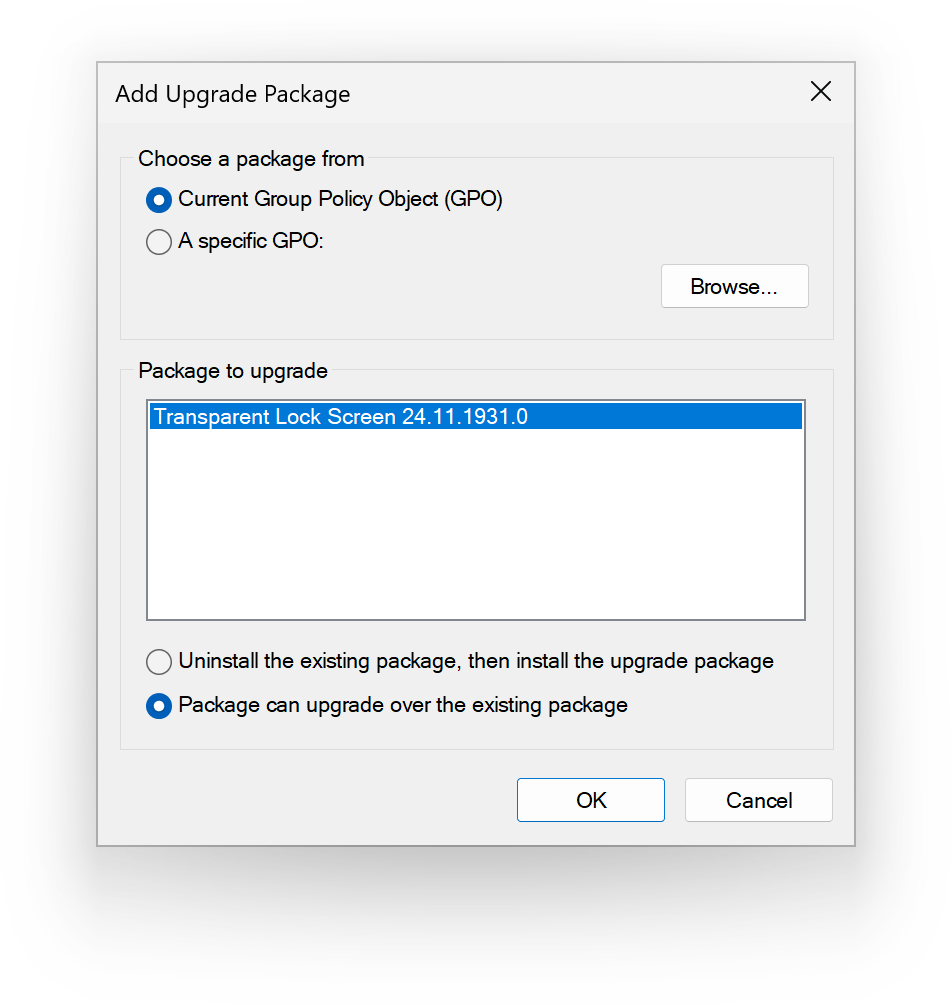
Add Upgrade Package dialog box
-
Click OK to close the package’s Properties dialog box.
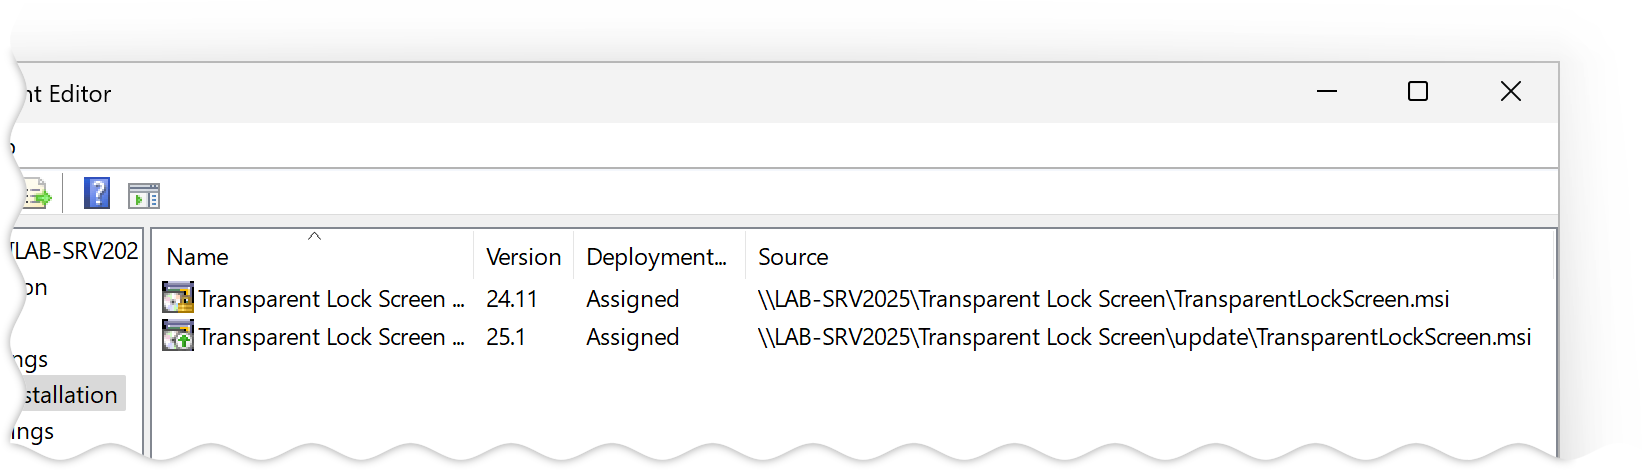
Old and new Transparent Lock Screen packages in the Software installation component
The configuration of the GPO is finished. Once the GPO deployment is complete, Transparent Lock Screen will be automatically updated after each computer is restarted.